

How to trace a picture or image in catia in another easy way using Sketch Tracer


Easy method to create a trace of an object or a picture
-
Step 1:
Go to -> Start -> Shape -> Sketch tracer

-
Step 2:
Click on the Create an Immersive Sketch from Paintings tool bar & select the image or the picture you want to trace and click on open

-
Step 3:
Change the orientation to Front View and change the material mode to Shading with Material

-
Step 4:
Create the boundary of the inside rectangle to focus on the image which you are looking to trace and there are two circular points at the left bottom end and the right top end and they are the cropping points. So adjust to your picture to just see the only image which you want to trace

-
Step 5:
Click ok on Sketch Parameters

-
Step 6:
You can see the desired image as shown here.

-
Step 7:
Go -> Insert -> New part

-
Step 8:
Now click on the Product1 to create the New part under Product

-
Step 9:
Double click on the Part on the left right corner to enter into the part design mode.

-
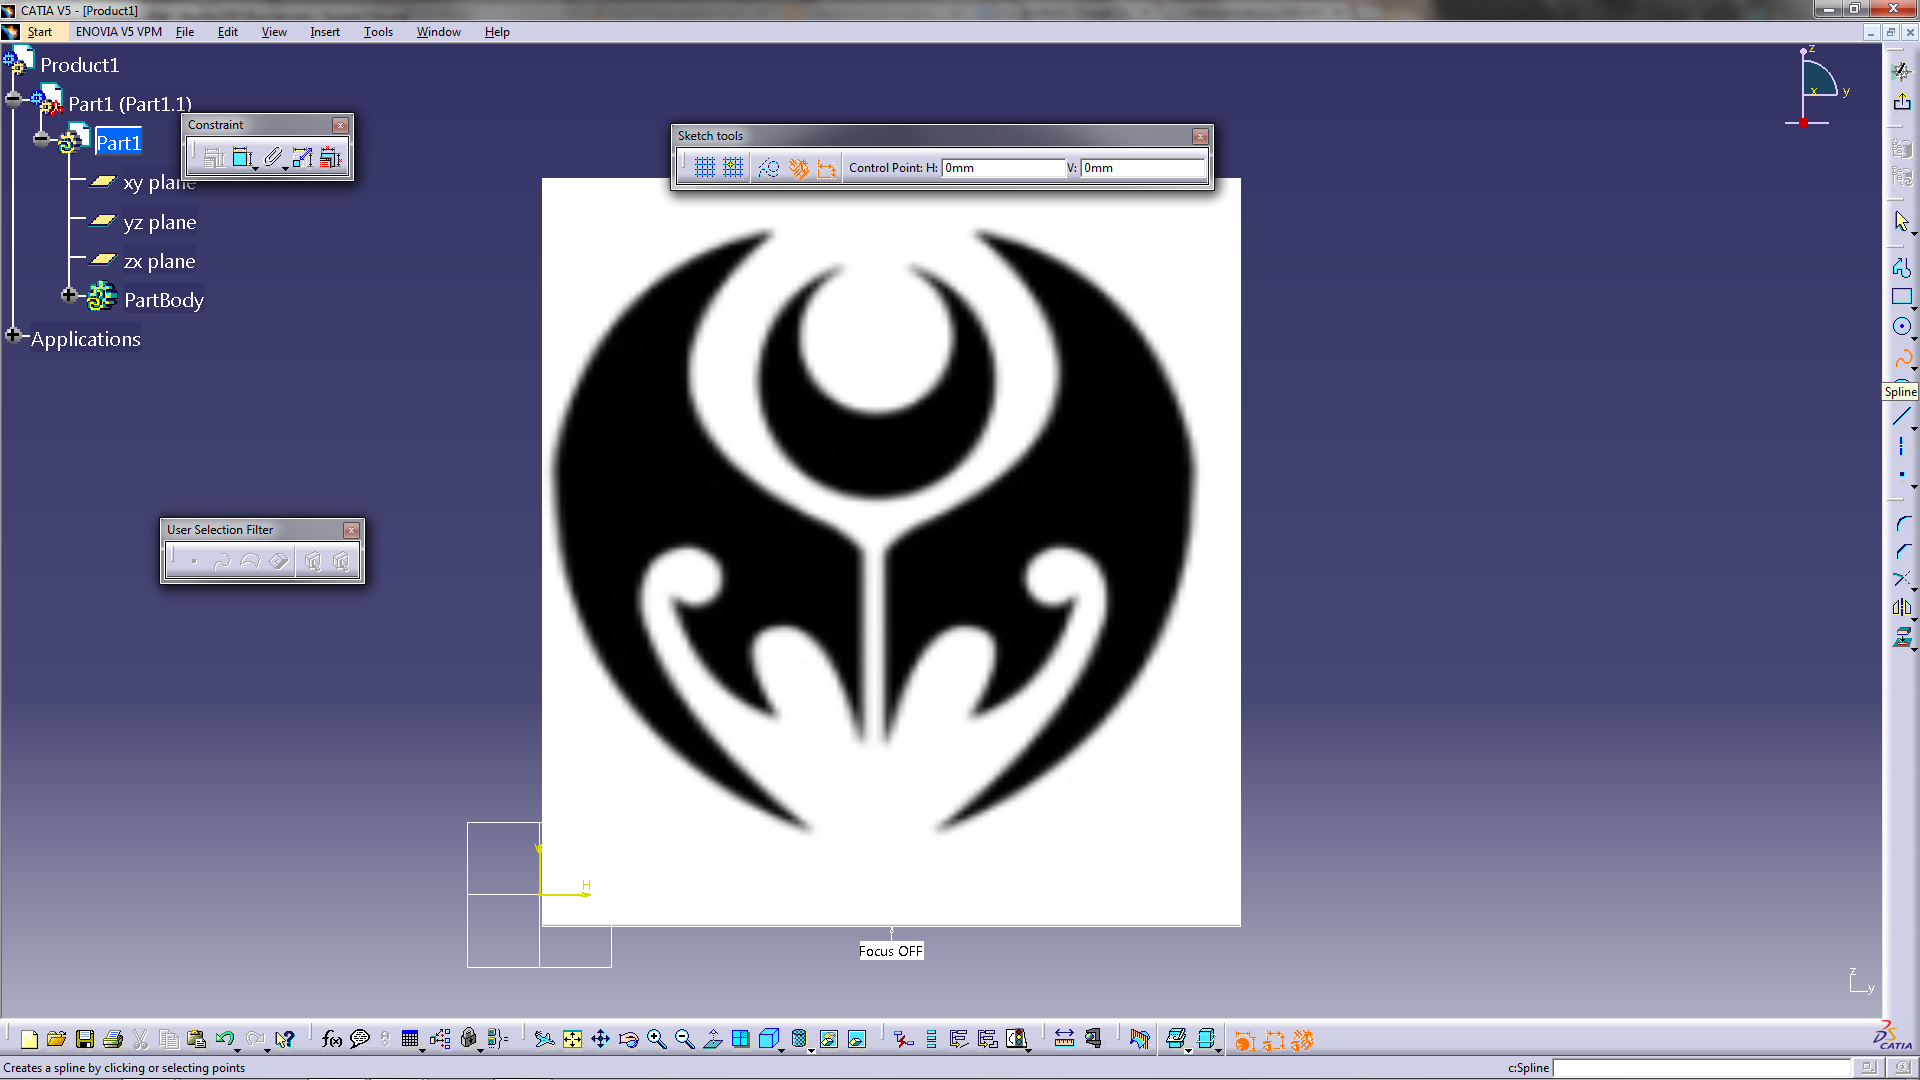
Step 10:
Select the plane which is parallel to the picture and click on sketch to enter into the sketcher mode. Click on the spline to activate.
-
Step 11:
Draw the splines according to your requirement as per the image or picture as shown below. Exit from the sketcher mode by clicking on exit workbench icon.

-
Step 12:
Right click on the picture ot hide it if you desire.

-
Step 13:
The actual curves looks likes this.

-
Step 14:
If you want to create the surface or solids, its up to you.

-
Step 15:
And the final part looks like this...
Thank you

-
Step 16:
Any queries or doubts, contact me and feel free to express your doubts...
Click on worked if you like it
