

How to insert a new plane in SOLIDWORKS?


Sometimes we need some additional planes to work with in SOLIDWORKS and there is a proper feature
we can use for that.
-
Step 1:
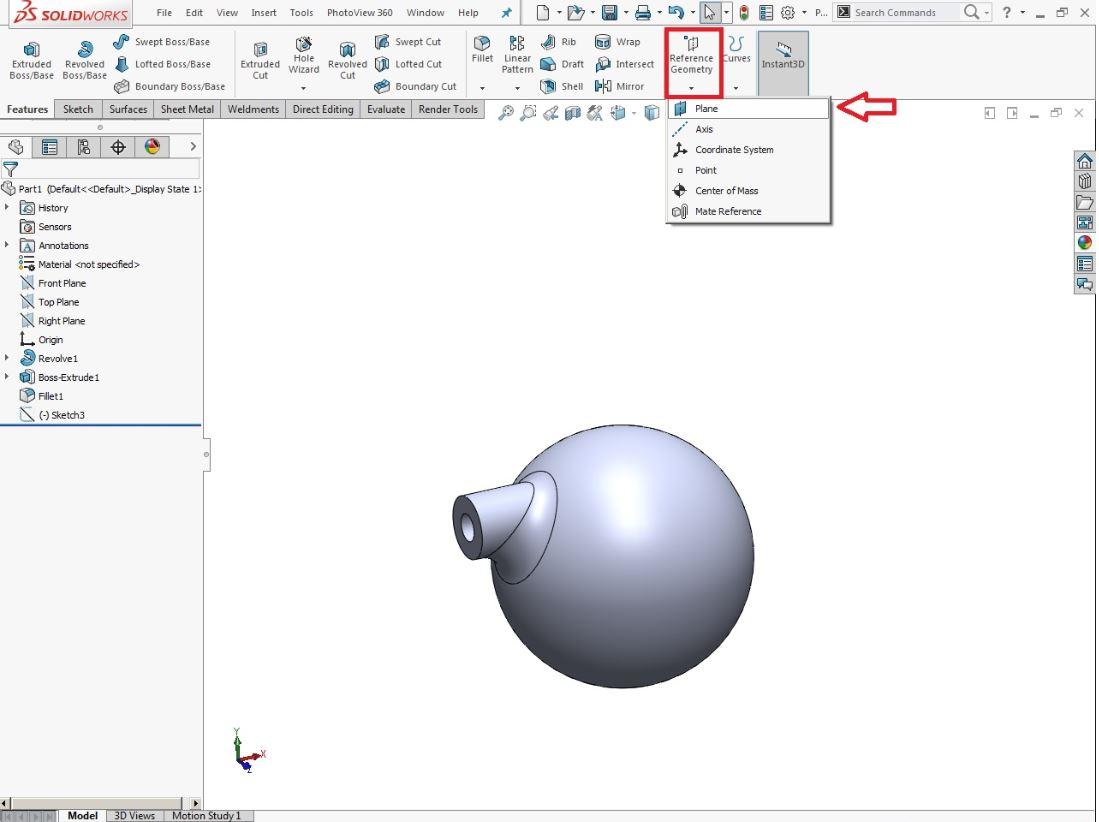
You can find the tool you need under - Features - Reference Geometry - Plane.
-
Step 2:
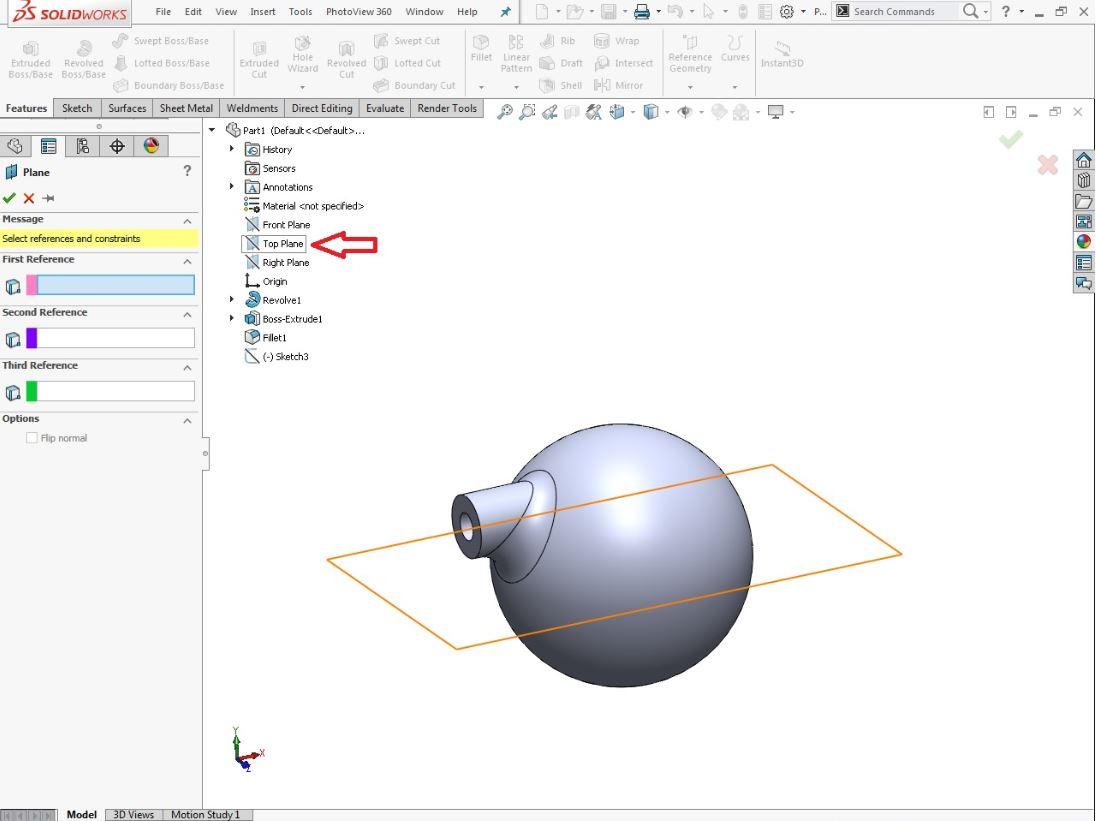
When you click on it you will get options for references. Set the first reference to be a Top Plane.
-
Step 3:

You can already see where your new plane will be created, based on your first reference, it is parallel to the Top Plane and you can change the offset distance and also the number if you want to create more planes at once.
Apply the command.
-
Step 4:

And now you have another plane parallel to your Top Plane with the offset distance you specified.
-
Step 5:

You can create simple parallel planes based only on your first reference which does not need to be a plane, it can also be a sketch point, edge point or a model face.
Your Second reference can be another point, you can see on the photo how I used a sketch point in the middle of the cylinder as my second reference.
There are also other ways to create planes in SOLIDWORKS by using the same feature, but for beginners this is helpful for understanding that they are not fixed to create sketches only on the default planes.
