

How to Project Curve in CATIA V5

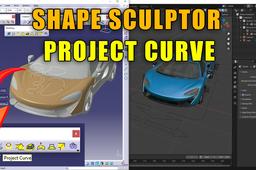
The case study makes use of a McLaren 520S available for free using BlenderKit
-
Step 1: Shape Sculptor Workbench
Open the Shape Sculptor Workbench: Go to the "Start" menu, select "Tools," then "Workbench," and finally "Shape Sculptor."
Select the Curve to Project: Use the mouse to click and hold the left button while dragging over the curve you want to project. Release the button to confirm the selection. You can use Ctrl+click to add multiple curves if needed.
Activate the Project Curve Tool: Locate the "Project Curve" tool in the toolbar (it looks like a curved arrow pointing onto a surface). Alternatively, you can go to the "Insert" menu, select "Curve," and then choose "Project Curve."
Choose the Projection Target: Click on the surface or geometry onto which you want to project the curve. Ensure the selection is unambiguous.
Define the Projection Orientation (Optional):
Normal to Target: Clicking this option projects the curve directly onto the target surface, perpendicular to its local planes. This is the most common approach.
View: If you need more precise control, you can activate this option and then select the desired view direction in the graphics window. The curve will be projected along the view ray onto the target.
Review and Apply: The preview of the projected curve will be displayed in the graphics window. If it looks as expected, click the "Apply" button to finalize the projection.
